Make a shared folder contents available over IIS as Virtual Directory
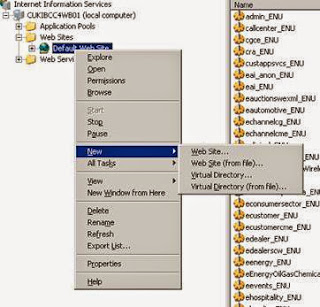
1. Create a folder share on desired Server2. Open IIS and Navigate to Web Sites à Default Web Site
3. Right click on default Web Site and select Newà Virtual Directory
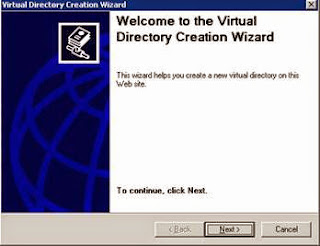
4. Virtual Directory creation wizard will be displayed
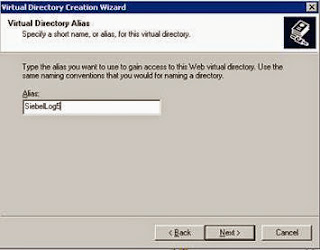
5. Provide the name of Virtual Directory
6. Provide the shared path of directory if it is located on different server. Else provide the direct path if it is on the same server as that of IIS.
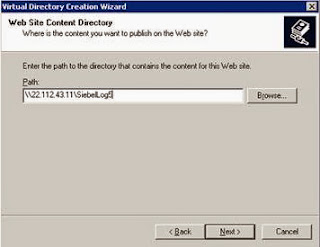
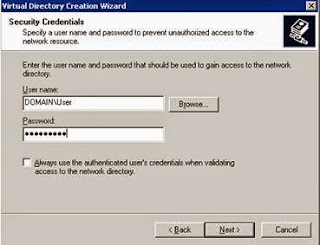
7. In case of shared path of directory provide domain user and password
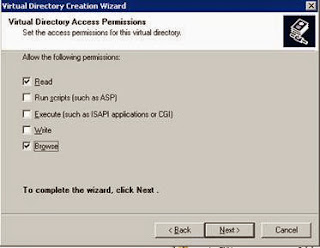
8. Select "Read" and "Browse" as virtual directory permissions
9. Click on Finish button to finish the wizard.

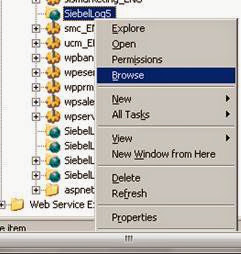
10. Right click on created Virtual Directory and select Browse
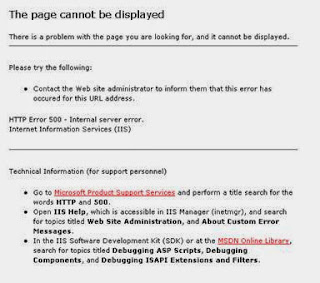
11. Newly created virtual directory was showing "HTTP 500" error.
Since SSL was enabled at default website level error was seen while browsing website without "https" protocol
12. Follow below steps to disable SSL at Virtual Directory level
Select Virtual Directory Properties à Directory Security à Secure communications àEdit
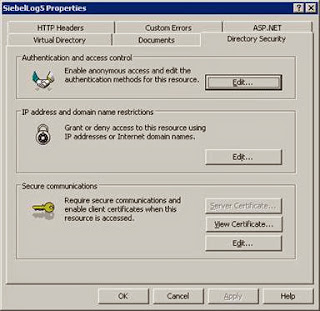
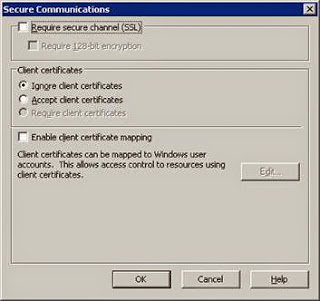
13. Uncheck "Require secure channel(SSL)" checkbox
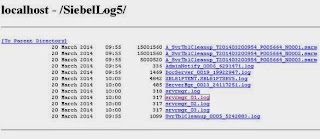
14. Right click and select Browse on the Virtual Directory. Files from Virtual directory will be displayed. Click on any file to see its contents
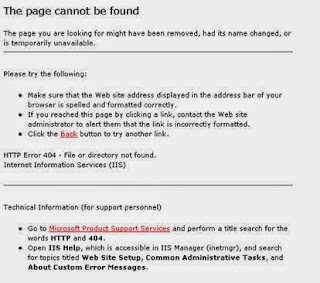
15. HTTP 404 error will be displayed
16. Follow below steps to allow file download.
Navigate to Virtual Directory Properties à HTTP Headers à MIME Types
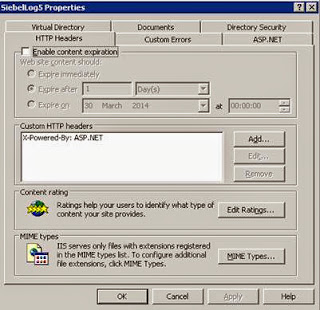
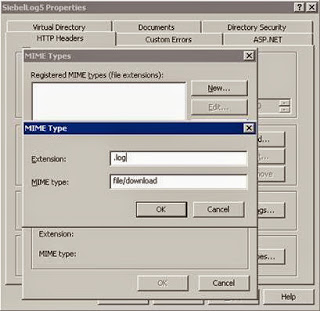
17. Create new MIME Type
MIME TYPE: file/download
Extension: .log
No comments:
Post a Comment